
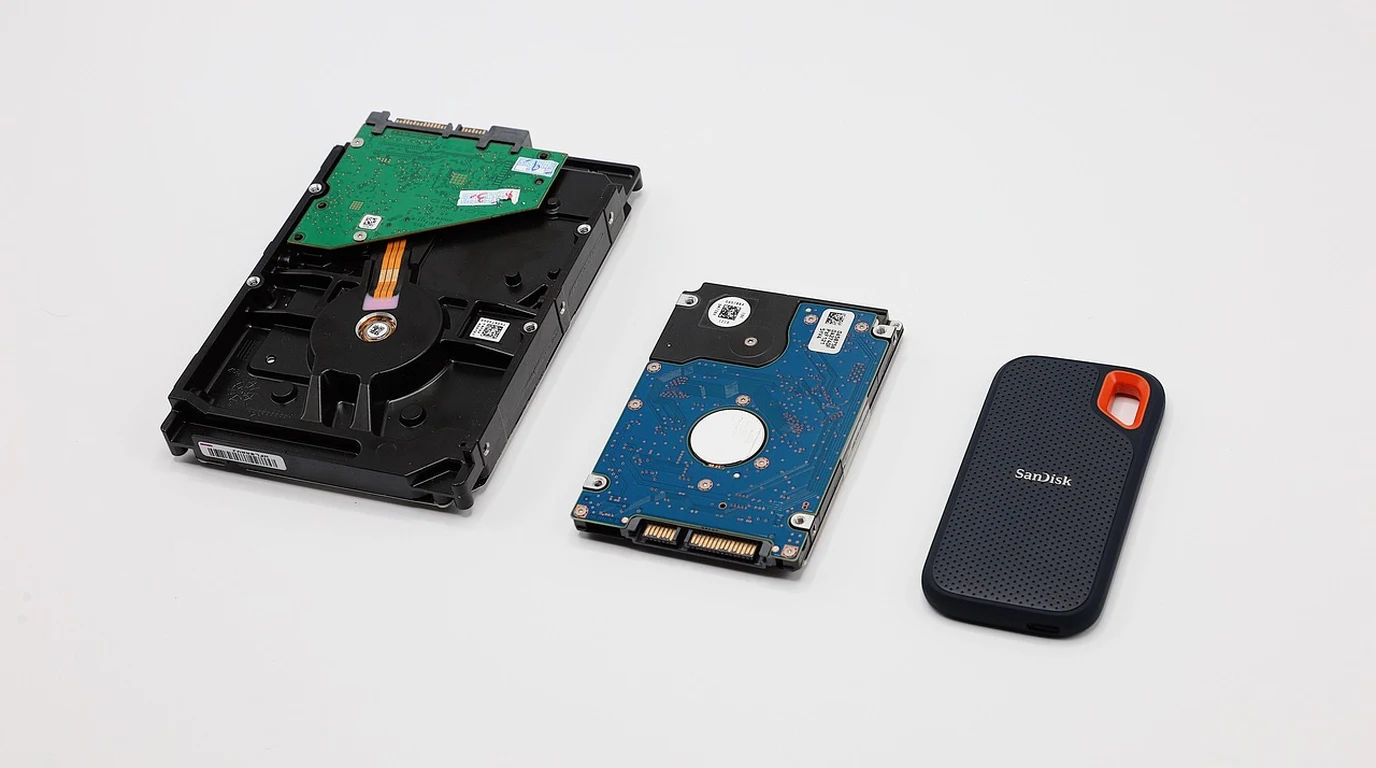
You’ve built a robust ZFS storage system, perhaps for a home lab, a small business, or even a production environment. You’ve got your spinning rust, your RAIDZ, your snapshots, your datasets – it’s a thing of beauty. Yet, there’s this nagging feeling, isn’t there? That moment when you run ls -laR on a directory with thousands of small files, and it feels like you’re waiting for dial-up internet to load a webpage. Or when your virtual machines, despite having their VHDs on ZFS, just feel… sluggish, especially during boot-up or when installing software. You’ve got plenty of RAM for ARC, maybe even an L2ARC, but the responsiveness for those tiny, random I/O operations, the ones that define a snappy user experience, just isn’t there. It’s frustrating, because you know ZFS is powerful, but this particular bottleneck feels like a constant, low-grade fever in your otherwise healthy storage infrastructure. You’re pouring resources into your system, but the fundamental physics of hard drives – their slow seek times – are holding you back from true, uncompromised performance for the very operations that make a system feel fast: metadata lookups and small file access.
A ZFS Special VDEV, configured with special_small_blocks, offloads all filesystem metadata, directory trees, indirect blocks, and small data blocks to mirrored enterprise NVMe SSDs. This dramatically accelerates random small-block I/O, transforming system responsiveness for operations like file listings, snapshot lookups, and small file storage, but demands robust, power-loss protected SSDs due to the catastrophic risk of VDEV failure.
Why Your ZFS Pool Feels Sluggish with Small Files and Metadata, Even with Fast HDDs
Let’s be candid: ZFS is a marvel of engineering, but it can’t defy the laws of physics. Mechanical hard drives (HDDs) are fantastic for large, sequential reads and writes. They excel at streaming big video files, backing up massive datasets, or serving up large database tables. Their cost-per-gigabyte is unbeatable, making them the workhorse of high-capacity storage. However, their Achilles’ heel is random I/O, particularly with small blocks. Every time ZFS needs to read a piece of metadata – a directory entry, a file attribute, an indirect block pointing to data – or a tiny file, the HDD’s read/write head has to physically move to a new location on the platter. This “seek time” is measured in milliseconds, and while that sounds fast, thousands of these tiny movements add up quickly, creating significant latency. This is why listing a directory with millions of files feels agonizingly slow, or why a VM’s boot process, which involves countless small file accesses, can drag. Your ZFS pool isn’t slow; your HDDs are simply being asked to do a job they’re not optimized for. The core issue is that ZFS stores everything on the same underlying VDEVs by default: your large data blocks, your small data blocks, and all your metadata. When those VDEVs are composed of spinning disks, every single operation, no matter how small, is subject to the mechanical constraints of those disks. This is where the concept of a Special VDEV comes in, offering a strategic offload.What Most People Miss About ZFS Special VDEVs: It’s Not Just for Metadata
Here’s where many ZFS users, even experienced ones, often miss a critical nuance. The ZFS Special Allocation Class, commonly referred to as a “Special VDEV,” is often touted as a way to accelerate metadata operations. And it absolutely is. By adding one or more fast SSDs (ideally NVMe) to your pool as a `special` VDEV, ZFS will automatically store all filesystem metadata, directory trees, and indirect blocks on these faster devices. This alone can dramatically improve the responsiveness of operations like `ls -la`, `find`, snapshot creation/deletion, and general filesystem traversal. But the real game-changer, the feature that elevates a Special VDEV from “nice-to-have” to “absolutely essential” for certain workloads, is thespecial_small_blocks property. By default, when you add a Special VDEV, it only stores metadata. Data blocks, regardless of size, still go to your main data VDEVs (your HDDs). However, by setting special_small_blocks to a value like 32K or 64K, you instruct ZFS to store any data block smaller than this threshold directly on the Special VDEV.
Think about that for a moment. This isn’t just metadata anymore; this is actual file data. Many common files – configuration files, small images, scripts, database indexes, virtual machine boot sectors, application binaries – are often smaller than 32KB or 64KB. With special_small_blocks configured, these entire files, along with all their associated metadata, are written to and read from your lightning-fast NVMe Special VDEV. This transforms the performance profile of your pool, making it feel incredibly snappy for workloads dominated by small files, even if the bulk of your storage is still on HDDs.
The trap many fall into is either not using a Special VDEV at all, or using one without understanding the power of `special_small_blocks`, thus leaving significant performance on the table. Another critical, and often catastrophic, trap is underestimating the risk and hardware requirements.
| Feature/Scenario | ZFS on HDDs Only (Baseline) | Special VDEV (Metadata Only) | Special VDEV with special_small_blocks |
The “Costly Trap” Scenario |
|---|---|---|---|---|
| Metadata Performance | Poor (high latency, low IOPS) | Excellent (low latency, high IOPS) | Excellent (low latency, high IOPS) | Excellent initially, then catastrophic failure |
| Small File Data Performance | Poor (high latency, low IOPS) | Poor (still on HDDs) | Excellent (low latency, high IOPS) | Excellent initially, then catastrophic failure |
| Hardware Requirements | HDDs (any type) | Mirrored SSDs (preferably enterprise) | Mirrored Enterprise NVMe with PLP | Consumer SSDs, single drive, no PLP |
| Risk of Pool Loss | Depends on data VDEV redundancy | Catastrophic if Special VDEV fails without redundancy | Catastrophic if Special VDEV fails without redundancy | 100% certainty of total pool loss upon single drive failure |
| Cost Implications | Lowest initial cost | Moderate increase (for SSDs) | Higher increase (for enterprise NVMe) | Low initial cost, infinite recovery cost |
The Catastrophic Risk: Why Your Special VDEV Needs Enterprise-Grade Redundancy
Now, let’s talk about the elephant in the room, the single most critical aspect of deploying a Special VDEV: its failure mode. Unlike an L2ARC or SLOG (ZIL) device, which are essentially caches and can fail without losing your entire pool, a Special VDEV is an integral part of your pool’s structure. If your Special VDEV dies and you don’t have sufficient redundancy, your entire ZFS pool is irrevocably lost. This isn’t a warning; it’s a guarantee. Why? Because the Special VDEV holds critical metadata that describes the layout and content of your entire pool. Without it, ZFS cannot reconstruct your data. It’s like losing the table of contents and index of a massive library; all the books are still there, but you have no idea where anything is or how to find it. This inherent risk mandates a specific hardware approach: 1. Mirroring (or 3-Way Mirroring): Never, ever deploy a Special VDEV as a single device. It must be at least a mirrored pair (mirror) of SSDs. For mission-critical systems, a 3-way mirror is even safer, providing protection against two simultaneous drive failures.
2. Enterprise NVMe SSDs: Consumer-grade SSDs are designed for burst performance and cost-effectiveness, not continuous, heavy random I/O and power-loss resilience. Enterprise NVMe drives, on the other hand, are built for:
* High Endurance (DWPD): They can sustain far more writes over their lifetime.
* Consistent Performance: They maintain high IOPS and low latency even under sustained load.
* Power-Loss Protection (PLP): This is non-negotiable. In the event of a sudden power outage, PLP ensures that any data still in the SSD’s volatile cache is written to non-volatile storage before the drive loses power. Without PLP, a power loss during a write operation could corrupt the metadata on the Special VDEV, leading to pool loss.
Skimping on these requirements is a false economy. The initial savings from buying cheaper consumer SSDs will be dwarfed by the cost of data loss, downtime, and recovery efforts if (or rather, when) one of those drives fails.
Sizing Your ZFS Special VDEV: The Goldilocks Principle
Sizing a Special VDEV correctly is crucial. Too small, and it fills up, forcing ZFS to write metadata and small blocks back to the slower HDDs, negating your investment. Too large, and you’ve wasted money on expensive NVMe capacity you don’t need. We’re aiming for Goldilocks: just right. The size of your Special VDEV depends on two primary factors: 1. Metadata Size: This is the base requirement. ZFS metadata includes file attributes, directory entries, indirect blocks, and other filesystem overhead. 2. Small Block Data Size: This depends on yourspecial_small_blocks setting and the proportion of your data that falls below that threshold.
Estimating Metadata Footprint
While there’s no single command to give you a precise “metadata size” for your entire pool, you can get a good approximation by looking at existing datasets. For an existing pool, you can use:zfs get all | grep metadata
This will show you the `metadata` property for each dataset, which indicates the amount of space used by metadata. Summing these values gives you a rough estimate.
A more practical approach for planning a new pool or a significant expansion is to consider a general rule of thumb: ZFS metadata typically accounts for 0.5% to 4% of your used data capacity, depending heavily on the average file size. A pool with millions of tiny files will have a much higher metadata percentage than a pool storing large video files.
Conservative Estimate: Assume 2-3% of your total anticipated usable pool capacity will be metadata. For a 100TB usable pool, that’s 2-3TB of metadata.
Estimating Small Block Data Footprint
This is harder to predict without analyzing your specific workload. If you know your workload consists of many files smaller than 32KB or 64KB (e.g., VM boot files, web server assets, code repositories, database indexes), you’ll need more space. A good starting point forspecial_small_blocks=32K or 64K is to allocate an additional 5-10% of your total anticipated usable pool capacity for small data blocks. This is a conservative estimate, but it provides a buffer.
Calculating Total Special VDEV Size
Add your estimated metadata size and small block data size. Example: * Target Usable Pool Capacity: 50TB * Estimated Metadata (3% of 50TB): 1.5TB * Estimated Small Block Data (5% of 50TB, withspecial_small_blocks=32K): 2.5TB
* Total Estimated Special VDEV Requirement: 1.5TB + 2.5TB = 4TB
Since you need a mirrored pair, you’d need two 4TB enterprise NVMe drives. Remember, NVMe drives are often sold in specific capacities (e.g., 1.92TB, 3.84TB, 7.68TB). Always round up to the next available capacity. In this example, two 3.84TB drives would be slightly too small (7.68TB raw, 3.84TB usable in mirror), so you’d likely need two 7.68TB drives (15.36TB raw, 7.68TB usable in mirror) to provide ample headroom. Over-provisioning here is wise; it’s far easier to add capacity than to deal with a full Special VDEV.
Choosing special_small_blocks Value
* 0 (Default): Only metadata goes to Special VDEV. Data blocks always go to data VDEVs.
* 1K, 2K, 4K, 8K, 16K, 32K, 64K, 128K: Any data block smaller than this value will be stored on the Special VDEV.
* Recommendation: For general-purpose servers, VMs, and mixed workloads, `32K` or `64K` offers a good balance. Going higher (e.g., `128K`) might offload too much data to the expensive NVMe, potentially filling it up too quickly, while lower values might not capture enough small files to make a significant difference. Start with `32K` or `64K` and monitor.
The Actionable Playbook: Deploying Your ZFS Special VDEV with special_small_blocks
Here’s your step-by-step guide to implementing a ZFS Special VDEV correctly, ensuring both performance and data integrity.
Step 1: Hardware Acquisition and Preparation
1. Select Enterprise NVMe SSDs: Purchase at least two identical enterprise-grade NVMe SSDs with Power-Loss Protection (PLP). Ensure they have sufficient endurance (DWPD) for your workload. Examples include Intel D7-P5510/P5600 series, Samsung PM1733/PM1735, Micron 7400 series. 2. Determine Sizing: Based on the calculations above, choose NVMe drives that provide ample capacity for your estimated metadata and small block data, plus a healthy buffer. Remember, you need enough usable capacity in your mirrored Special VDEV. 3. Physical Installation: Install the NVMe drives into your server. Ensure they are properly seated and recognized by the operating system. 4. Identify Devices: On Linux, NVMe devices typically appear as `/dev/nvme0n1`, `/dev/nvme1n1`, etc. Verify their presence using `lsblk` or `fdisk -l`.Step 2: Adding the Special VDEV to Your ZFS Pool
Important Safety Note: This operation is irreversible without destroying and recreating the pool. Double-check your device names! 1. Identify Your Pool: Let’s assume your existing ZFS pool is named `datapool`. 2. Add the Mirrored Special VDEV: Use the `zpool add` command. We’re adding a `special` VDEV, and it must be a `mirror` for redundancy. “`bash sudo zpool add datapool special mirror /dev/nvme0n1 /dev/nvme1n1 “` * Replace `datapool` with the actual name of your ZFS pool. * Replace `/dev/nvme0n1` and `/dev/nvme1n1` with the actual device paths of your NVMe SSDs. * If you’re using TrueNAS SCALE, you’ll typically do this through the UI under Storage -> Pools -> (Your Pool) -> Add Vdevs, selecting “Special” and ensuring it’s a mirror. 3. Verify the Addition: Check the pool status to confirm the Special VDEV has been added successfully. “`bash sudo zpool status datapool “` You should see a new `special` section in the output, showing your mirrored NVMe devices.Step 3: Configuring special_small_blocks
Once the Special VDEV is part of the pool, you can set the `special_small_blocks` property. This property is set at the pool level, meaning it applies to all datasets within that pool.
1. Set the Property: Choose your desired block size (e.g., `32K` or `64K`).
“`bash
sudo zfs set special_small_blocks=32K datapool
“`
* Again, replace `datapool` with your pool name.
* You can also set this to `64K` if your workload benefits from slightly larger small blocks being offloaded.
2. Verify the Setting: Confirm the property has been applied.
“`bash
sudo zfs get special_small_blocks datapool
“`
The output should show `special_small_blocks` set to your chosen value.
What happens next?
ZFS will not immediately move existing small files to the Special VDEV. The `special_small_blocks` property only affects new writes and rewrites. As files are modified or new files are created, if they meet the size criteria, their data blocks (and all metadata) will be written to the Special VDEV. Over time, as your data churns, more and more relevant small blocks will migrate to the faster storage.
Step 4: Monitoring and Maintenance
1. Monitor Special VDEV Usage: Keep an eye on how much space your Special VDEV is consuming. “`bash sudo zpool iostat -v datapool 5 “` This command will show I/O statistics for all VDEVs, including your `special` VDEV. You can also use `zpool list -v datapool` to see capacity usage. If your Special VDEV starts to fill up rapidly, you might need to reconsider your `special_small_blocks` setting or plan for future expansion. 2. Regular Health Checks: Continue to monitor your pool health with `zpool status` regularly. Pay close attention to the health of your NVMe devices. 3. Backups are Paramount: A Special VDEV significantly improves performance, but it doesn’t replace a robust backup strategy. Always have off-site, immutable backups of your critical data. 4. Consider `ashift`: While not directly part of Special VDEV configuration, ensure your pool’s `ashift` (allocation shift) is set appropriately for your underlying drives (typically `12` for 4K sector drives, which includes most modern HDDs and all SSDs). This is usually set at pool creation and cannot be changed later without recreating the pool. By following these steps, you’ve transformed your ZFS pool from a workhorse struggling with small, random I/O to a high-performance system that leverages the strengths of both HDDs and NVMe, all while maintaining the legendary data integrity of ZFS. Enjoy the newfound responsiveness!Frequently Asked Questions
How do I know if my ZFS Special VDEV is working correctly?
You can verify its operation by checking zpool status to see the special VDEV listed, and then observe I/O activity using zpool iostat -v . You should see active reads and writes on the special VDEV, especially for metadata-heavy operations or when creating/modifying small files. Performance benchmarks for small random reads/writes will also show significant improvement.
Can I add a Special VDEV to an existing ZFS pool without losing data?
Yes, you can add a Special VDEV to an existing ZFS pool using zpool add without destroying your data. However, once added, the Special VDEV cannot be removed without destroying and recreating the entire pool. Ensure your Special VDEV is mirrored for redundancy before adding it.
What happens if my Special VDEV fills up completely?
If your Special VDEV fills up, ZFS will revert to storing metadata and small blocks on your main data VDEVs (HDDs). This means you’ll lose the performance benefits for those operations, but your pool will not immediately fail. However, it’s a strong indicator that your Special VDEV is undersized, and you should consider expanding it or adjusting your special_small_blocks setting if possible.
Should I use a Special VDEV for an all-SSD ZFS pool?
For an all-SSD ZFS pool, a Special VDEV is generally not necessary unless you have a specific tiered storage strategy where some SSDs are significantly faster or more durable than others (e.g., Optane for special VDEV, QLC for data). The primary benefit of a Special VDEV is to accelerate metadata and small blocks when the main data VDEVs are slower, mechanical drives.
Expanding raw parity storage must be paired with dedicated solid-state metadata vdevs for sustained file indexing. For ZFS Special VDEV configuration guides, review ZFS RAIDZ Expansion: Adding Disks to Existing Pool.