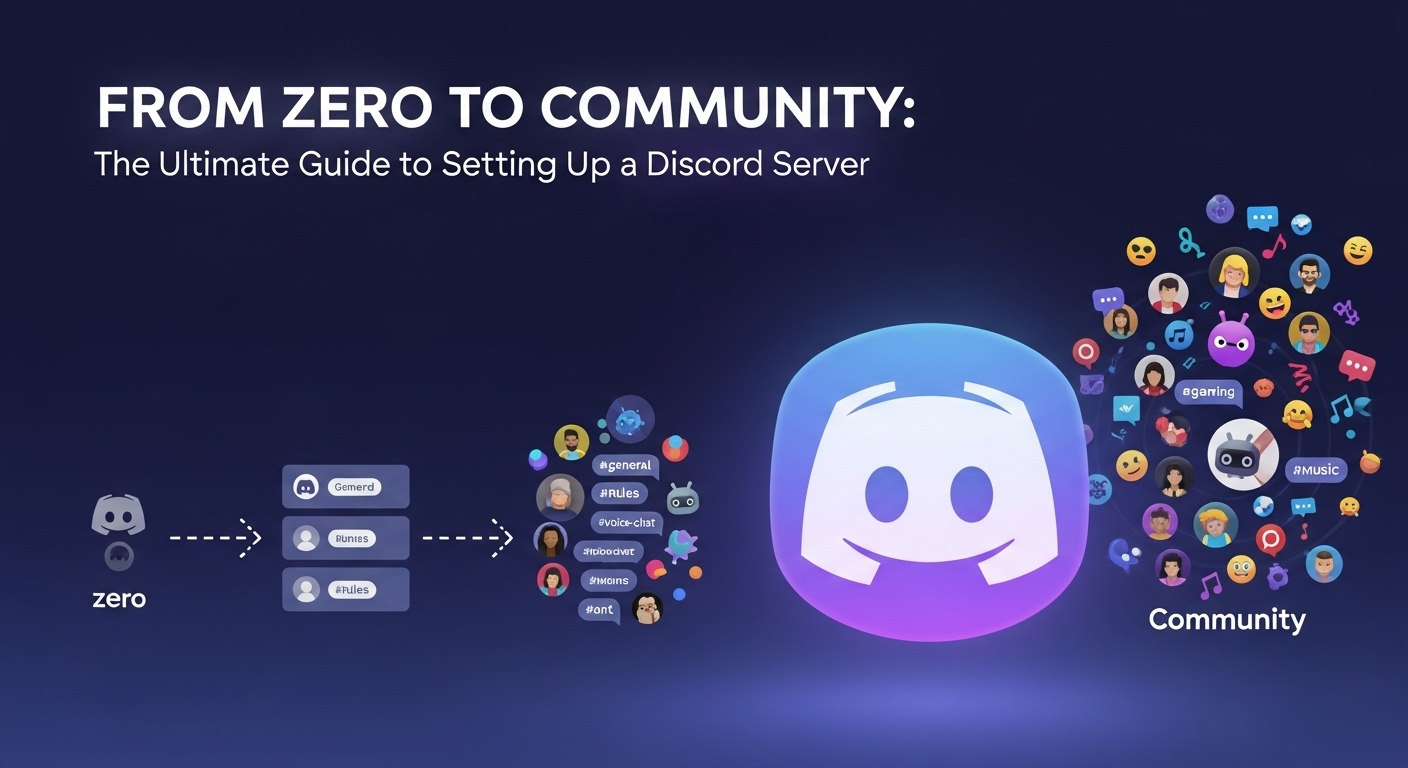
Part 1: Introduction — Your First Steps into a Larger World
Section 1.1: What is a Discord Server (and Why Should You Build One)?
At its core, a Discord server is a customizable, invitation-only digital space where communities can gather to communicate through text, voice, and video. It is a structured ecosystem of distinct channels, each dedicated to a specific topic, allowing for simultaneous, organized conversations without the chaos of a single group chat. The power of a Discord server lies in its versatility, allowing it to scale from a private space for a few friends to a sprawling public community for a brand, content creator, or hobbyist club. Building a server is about architecting the foundation for a thriving online community.
Section 1.2: Before You Begin: The Essential Prerequisites
- Creating Your Discord Account: The journey begins by visiting the official Discord website at discord.com and signing up. It’s crucial to use a primary, accessible email address for initial verification and future account recovery.
- Claiming and Verifying Your Account: To secure your account, you must “claim” it by verifying your email address. An unverified account may be barred from joining servers with specific security levels enabled. Phone number verification is also a recommended security practice.
- Downloading the App vs. Using the Browser: While Discord is accessible on all platforms, the downloadable desktop application is strongly recommended for the initial server setup and ongoing management, as it provides the most comprehensive access to all settings.
Part 2: The Genesis of Your Server — From Concept to Creation
Section 2.1: The Blueprint: Defining Your Server’s Purpose
Before creating a server, the most critical step is strategic planning. A server without a clear, defined purpose is unlikely to succeed. The most popular servers are built around a singular, specific topic. Answer a fundamental question: Is this for a small, private group (“For me and my friends”) or a larger, public-facing community (“For a club or community”)? This declaration of intent will guide every subsequent decision, from your moderation system to your onboarding process.
Section 2.2: The Creation Process: A Step-by-Step Walkthrough
- On Desktop:
- In the leftmost server column, click the large plus + icon (“Add a Server”).
- Choose “Create My Own” or a pre-designed template.
- Specify the audience (friends or community).
- Provide a name for your server and, optionally, upload an icon.
- Click “Create.” Your new server is now live.
- Templates vs. A Blank Slate: For beginners, templates can be an invaluable starting point, providing a functional layout for specific use cases like Gaming, School Clubs, or Study Groups. Choosing “Create My Own” provides a blank canvas for those with a custom structure in mind.
Section 2.3: Your First Invitation: Bringing in Your Core Members
Once created, your server is an empty space. Use the “Invite People” option (by clicking the server’s name in the top-left) to generate a unique invite link. By default, these links expire after 7 days, but you can edit the settings to create a permanent link. For initial setup, it’s best to invite a small, trusted group to help test the layout and provide feedback.
Part 3: The Architecture of Community — Channels, Roles, and Permissions
Section 3.1: Organizing Conversations: Categories and Channels
Categories are organizational folders that group related channels. Channels are the individual spaces within categories where communication happens (Text Channels or Voice Channels). To create a category or channel, right-click in the channel list (desktop) or click the server name dropdown menu.
Best Practices for Channel Structure:
- Keep it Simple: Avoid creating too many channels.
- Use Descriptive Names: Clearly reflect the topic (e.g., #game-discussion).
- Utilize Emojis: Provides quick visual cues (e.g., 📢#announcements).
- Logical Grouping: Group channels into categories like INFORMATION, GENERAL, and STAFF ONLY.
Section 3.2: The Power of Roles: Defining Identity and Hierarchy
Roles are one of Discord’s most powerful features. A Role is a named label with a specific color and set of permissions that can be assigned to members. The order of roles in **Server Settings > Roles** is critical, as it dictates color, member list hoisting, and the permission hierarchy (a user can only manage roles positioned below their own).
Section 3.3: The Rules of the Realm: Mastering the Permissions System
Permissions in Discord are applied across three layers, with each subsequent layer overriding the one before it:
- Server-Level Permissions (The Foundation): The baseline permissions for the entire server, set in the @everyone role and other custom roles.
- Category-Level Permissions (The Group Override): Specific permission overrides for an entire Category of channels.
- Channel-Level Permissions (The Final Say): The most granular control; these permissions always override category or server-level settings.
When configuring permissions, you have three states: Allow (✓), Deny (✗), and Inherit (/). The most important rule to remember is that a channel-level Deny will always win over a server-level Allow.
| Permission Name | Risk Level | Best Practice (Who should have this?) |
|---|---|---|
| Administrator | Critical | Server Owner only. |
| Manage Server | Critical | Server Owner and top-level Admins only. |
| Manage Roles | Critical | Admins only. |
| Manage Channels | High | Admins and trusted senior moderators. |
| Kick/Ban Members | Medium | Admins and Moderators. |
Part 4: From Private Group to Public Community
Section 4.1: Unlocking Community Features
Enabling “Community” in your server settings grants access to powerful features designed for moderation, member onboarding, and growth. To enable it, go to Server Settings > Enable Community and follow the setup wizard. The benefits include:
- Announcement Channels: “Publish” messages that can be broadcast to other servers.
- Server Insights: A native analytics dashboard with data on member growth and engagement.
- Server Discovery: Makes your server eligible to be listed in Discord’s public directory.
- Welcome Screen and Onboarding: Tools for a structured and welcoming experience for new members.
Section 4.2: Crafting the Onboarding Experience
- Welcome Screen: Configured in Server Settings > Welcome Screen, this pop-up serves as a personalized greeting and directory to your server’s most important channels.
- Membership Screening: Found in Server Settings > Safety Setup, this acts as a gateway where new members must explicitly agree to the server’s rules before they can participate.
Part 5: Automation and Enhancement – A Guide to Discord Bots
Section 5.1: Introduction to Bots
Bots are automated programs that act like users to perform a vast range of tasks, from moderating chat to playing music. The safest way to find reputable bots is through trusted online directories like top.gg or discord.bots.gg. When adding a bot, you must authorize it and grant it permissions. Critically review the permissions a bot requests and only grant what is necessary for its function.
Section 5.2: Essential Bots for Moderation and Security
- Discord’s Native AutoMod: Before adding third-party bots, configure Discord’s powerful, built-in AutoMod (Server Settings > AutoMod). This can automatically detect and block undesirable content using custom keywords and spam filters.
- The “Big Three” Moderation Bots: For advanced features, these are top choices:
- MEE6: An all-in-one starter bot with moderation, welcome messages, and a leveling system. Many advanced features are premium.
- Dyno: A stable and comprehensive moderation bot with robust automod and detailed logging.
- Carl-bot: Celebrated for its powerful and free reaction role system, excellent logging, and strong automod capabilities.
Part 6: Advanced Customization and Best Practices
Section 6.1: Server Aesthetics
- Using Symbols and Special Fonts: Websites like coolsymbol.com offer Unicode characters to copy and paste into channel names for a unique look.
- Creating Professional Embeds: Use bots like MEE6 and Carl-bot or dedicated tools like Discohook to create richly formatted message blocks for rules and announcements.
Section 6.2: Principles of Successful Server Management
Long-term success depends on effective community management. A few key principles:
- Foster an Active Community: Actively plan events, ask questions, and participate in conversations.
- Avoid Common Pitfalls: Don’t create excessive channels, be selective with bots, and don’t incentivize low-quality spam with leveling systems.
The journey of building a Discord server is an ongoing process. This guide provides the architectural blueprint and the essential tools, but the heart of any great server is the community that calls it home.