
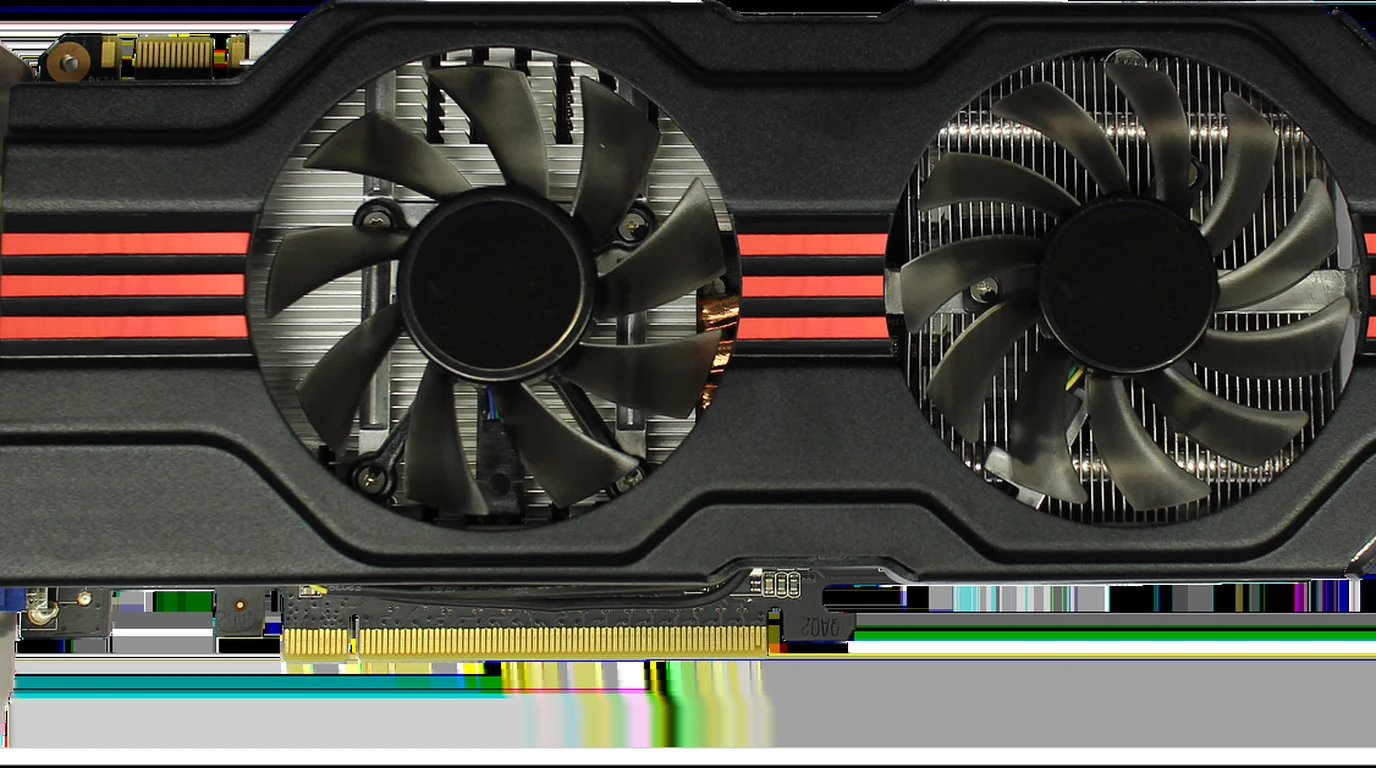
You’ve been there, haven’t you? Staring at your powerful consumer GPU – that gleaming RTX 4090 or even a trusty 3090 – and feeling the familiar pang of frustration. You want to run the latest, most capable large language models locally, to have a truly private, blazing-fast AI assistant right on your desktop. But then reality hits: VRAM limits. The endless search for “quantized models that actually fit.” The agonizing wait as your model chugs along at a snail’s pace, generating tokens slower than you can read them. You’re trying to squeeze enterprise-grade intelligence into a prosumer setup, and it feels like you’re constantly compromising on speed, model size, or both. The promise of local AI is intoxicating, but the practicalities often feel like a cold splash of water. You just want to know which tool will give you the most bang for your VRAM buck, delivering snappy, responsive inference without forcing you to buy a server rack.
For single-user, low-VRAM local inference on consumer GPUs, ExLlamaV2 (EXL2) is the undisputed champion. Its EXL2 quantization and custom CUDA kernels deliver superior interactive latency and VRAM efficiency, enabling faster token generation and larger models. vLLM excels in multi-user, high-throughput API serving environments, leveraging PagedAttention for efficient batching, but typically demands more VRAM per model instance and is overkill for a personal desktop setup.
Why Most People Get Local LLM Performance Wrong (And How to Avoid the Trap)
Here’s the costly trap almost everyone falls into: they hear about a “fast LLM inference engine” and assume it’s a universal solution. They read benchmarks touting incredible throughput numbers and think, “Aha! This is what I need for my desktop chatbot!” But the truth is, the world of LLM inference is highly specialized, and what makes a solution “fast” depends entirely on your use case. Eighty percent of practitioners, especially those new to local LLM deployment, mistakenly try to apply an enterprise-grade, throughput-optimized solution like vLLM to a single-user, latency-sensitive desktop problem. Or, conversely, they try to scale a desktop-focused solution like ExLlamaV2 into a multi-user API server, only to hit its inherent architectural limits.
The nuance lies in understanding the fundamental design philosophies behind these two powerhouses. ExLlamaV2 and vLLM are both incredible feats of engineering, but they were built for fundamentally different challenges. Ignoring this distinction is like trying to win a drag race with a Formula 1 car (vLLM) when you actually need to navigate a tight, technical autocross course (ExLlamaV2). Both are fast, but their strengths are optimized for different domains.
Let’s break down the core differences and expose why a “one-size-fits-all” approach will always leave you frustrated.
ExLlamaV2: The Single-User Speed Demon for Your Desktop
Think of ExLlamaV2 as the finely tuned sports car built for a single driver. Its primary goal is to deliver the absolute lowest possible latency for interactive, single-stream inference. When you’re typing a prompt into a local UI and waiting for the model to respond, you care about how quickly that first token appears and how rapidly subsequent tokens stream out. This is where ExLlamaV2 shines, often delivering 100+ tokens per second on 7B and 13B models, even on consumer hardware.
How does it achieve this magic?
- EXL2 Quantization: This is ExLlamaV2’s secret sauce. Unlike older, fixed-bit quantizations (like 4-bit or 8-bit), EXL2 uses a variable-bit quantization scheme. This means it can apply different bit-precisions (e.g., a mix of 2-bit, 3-bit, 4-bit, up to 8-bit) across different layers and even different weights within the same layer of a model. The result? Unparalleled VRAM efficiency with minimal perplexity loss. You can fit significantly larger models into your limited VRAM, and they still perform remarkably well. This is crucial for consumer GPUs where every gigabyte counts.
- Custom CUDA Kernels: ExLlamaV2 isn’t just loading a quantized model; it’s executing it with highly optimized, custom-written CUDA kernels. These kernels are specifically designed to work with the EXL2 format, minimizing memory access overhead and maximizing computational throughput on NVIDIA GPUs. They are tailored for the specific operations involved in transformer inference, squeezing every ounce of performance out of your hardware for a single, continuous stream of tokens.
- Minimal Runtime Overhead: ExLlamaV2 is lean. It’s designed to load the model and get out of the way, keeping its own memory footprint as small as possible. This is why you can often fit a 70B parameter model across dual 24GB GPUs (like two RTX 3090s or 4090s), something that would be a pipe dream with less optimized solutions.
vLLM: The Enterprise Throughput King for API Servers
Now, imagine vLLM as a bustling, highly efficient taxi fleet manager. Its goal isn’t just to get one passenger to their destination quickly, but to get hundreds of passengers to their destinations simultaneously, maximizing the utilization of its entire fleet. vLLM is built for high-throughput, multi-user API serving environments. When you have dozens or hundreds of users hitting your LLM endpoint concurrently, you care about how many requests per second your server can handle, not just the latency of a single request.
vLLM’s architectural brilliance lies in:
- PagedAttention: This is vLLM’s game-changer. In traditional LLM serving, the KV (Key-Value) cache – which stores the attention keys and values for previously generated tokens – can become fragmented and inefficient, especially with varying sequence lengths and concurrent requests. PagedAttention solves this by borrowing a concept from operating system virtual memory management. It treats the KV cache as a series of “pages,” allowing for flexible, non-contiguous allocation and deallocation. This virtually eliminates KV-cache fragmentation, leading to significantly higher throughput and better GPU utilization under heavy load.
- Continuous Batching: Instead of processing requests one by one, or in fixed-size batches that often leave GPU cycles idle, vLLM employs continuous batching. It dynamically batches requests as they arrive and processes tokens from multiple requests concurrently, even if they are at different stages of generation. This keeps the GPU pipeline full and maximizes throughput.
- Broad Quantization Support: While not having its own unique quantization format like EXL2, vLLM supports a range of popular quantization methods, including AWQ, GPTQ, and FP8 (on supported hardware). This allows it to leverage pre-quantized models from the community, providing flexibility for deployment.
- Memory Allocation Buffers: To achieve its high throughput and PagedAttention efficiency, vLLM pre-allocates significant memory buffers. This is a trade-off: it ensures smooth operation and avoids dynamic memory allocation overhead during inference, but it means vLLM generally has a higher baseline VRAM footprint compared to ExLlamaV2 for the same model size, especially when idle or under light load. This is a key reason why it’s less ideal for low-VRAM desktop scenarios.
The Nuance Matrix: When to Pick Which Tool
The “costly trap” is trying to force a square peg into a round hole. You wouldn’t use a bulldozer to plant flowers, nor would you use a trowel to demolish a building. The same logic applies here.
| Feature / Aspect | ExLlamaV2 (EXL2) | vLLM | Best For | Key Differentiator |
|---|---|---|---|---|
| Primary Use Case | Single-user, interactive desktop inference; local AI assistants. | Multi-user, high-throughput API serving; enterprise LLM endpoints. | EXL2: Personal AI, creative writing, coding assistance. vLLM: Production APIs, chatbots for many users. | Optimized for latency vs. optimized for throughput. |
| Inference Speed Metric | Tokens/second for a single continuous stream. (e.g., 100+ t/s for 7B/13B). | Requests/second or total tokens/second across many concurrent streams. | EXL2: Quick, responsive chat. vLLM: Handling peak traffic efficiently. | Focus on first token out vs. total tokens processed. |
| VRAM Efficiency | Exceptional. Minimal runtime footprint. Allows 70B models on dual 24GB GPUs. | Good for throughput, but higher baseline VRAM due to PagedAttention buffers. | EXL2: Max model size on limited VRAM. vLLM: Max concurrent requests on ample VRAM. | Aggressive quantization & minimal overhead vs. buffer pre-allocation. |
| Quantization Format | Proprietary EXL2 (variable-bit 2-8 bit precision). | AWQ, GPTQ, FP8 (on supported hardware). | EXL2: Best quality/size ratio for local. vLLM: Broad compatibility with existing quantized models. | Custom, highly optimized format vs. support for common standards. |
| Underlying Technology | Custom CUDA kernels, highly optimized for EXL2 format. | PagedAttention, continuous batching, dynamic KV cache management. | EXL2: Raw single-stream speed. vLLM: Efficient resource sharing. | Kernel-level optimization vs. system-level resource management. |
| Multi-GPU Support | Excellent for model sharding across consumer GPUs. | Robust for scaling throughput across multiple GPUs. | EXL2: Fitting huge models. vLLM: Serving more concurrent users. | Parallelizing model layers vs. parallelizing requests. |
The table clarifies the landscape. If your goal is to run the largest possible model on your single (or dual) consumer GPU and have it respond to your prompts as fast as humanly possible, ExLlamaV2 is your clear winner. If you’re building an API endpoint that needs to serve hundreds of users simultaneously and you have the VRAM to spare (or are willing to invest in it), vLLM is the superior choice.
The “costly trap” is trying to use vLLM for your desktop chatbot and wondering why it’s consuming more VRAM than expected, or why its “throughput” isn’t translating into snappier single-user responses. It’s like buying a commercial airliner to commute to work – it’s powerful, but utterly unsuitable for the task.
Your 4:00 PM Playbook: Getting Both Engines Running (And Knowing When to Use Which)
Alright, enough theory. Let’s get practical. You’ve got your consumer GPU, you understand the nuances, and now you want to actually do something. This playbook will guide you through setting up both ExLlamaV2 and vLLM, so you can experience their strengths firsthand and integrate them into your workflow.
Step 1: Prepare Your Environment
Before anything else, ensure you have a robust Python environment and NVIDIA drivers.
- NVIDIA Drivers: Make sure your NVIDIA drivers are up to date. This is non-negotiable for optimal performance.
- CUDA Toolkit: Install the appropriate CUDA Toolkit version. For most modern setups, CUDA 12.x is recommended.
- Python Environment: Use
condaorvenvto create isolated environments.
“`bash
conda create -n llm_env python=3.10 -y
conda activate llm_env
“`
Or withvenv:
“`bash
python -m venv llm_env
source llm_env/bin/activate # Linux/macOS
# llm_env\Scripts\activate.bat # Windows
“`
Step 2: Setting Up ExLlamaV2 for Local Desktop Inference
This is your go-to for interactive, low-latency local AI. We’ll use text-generation-webui (oobabooga) as it provides an excellent user interface and robust ExLlamaV2 integration.
- Install
text-generation-webui:
The easiest way is to follow the official installation instructions, which typically involve cloning the repository and running a setup script.
“`bash
git clone https://github.com/oobabooga/text-generation-webui.git
cd text-generation-webui
# For Linux/macOS:
python installer.py
# For Windows:
# python windows_install.py
“`
During the installation, ensure you select the option to installExLlamaV2. - Acquire an EXL2 Model:
The best place to find EXL2 models is Hugging Face, specifically fromTheBloke‘s repositories. Search for models with “EXL2” in their name. For example,TheBloke/Llama-2-7B-Chat-GPTQ-AWQ-EXL2. Download the model files directly or lettext-generation-webuihandle it. A common approach is to download the model to thetext-generation-webui/modelsdirectory. - Launch
text-generation-webuiwith ExLlamaV2:
Navigate back to thetext-generation-webuidirectory in your terminal and run:
“`bash
python server.py –model-dir models –exl2 –gpu-memory 20 –max_seq_len 4096
“`--model-dir models: Specifies where your models are stored.--exl2: Activates the ExLlamaV2 backend.--gpu-memory 20: (Adjust this!) Tells the backend how much VRAM to use on your primary GPU (in GB). If you have multiple GPUs, you might use--gpu-memory 20 20for two 24GB cards, for example, to shard a larger model.--max_seq_len 4096: Sets the maximum context window size. Tune this based on your VRAM and model. Larger context windows consume more VRAM.
- Load Your Model and Infer:
Once the web UI loads in your browser (usually athttp://127.0.0.1:7860), go to the “Model” tab.- Select your downloaded EXL2 model from the dropdown.
- Click “Load.”
- Navigate to the “Chat” or “Text Generation” tab and start interacting. Observe the tokens/second output – you’ll be impressed by the responsiveness.
Step 3: Setting Up vLLM for API Serving (Even if it’s just for you)
While vLLM is overkill for a single desktop user, understanding its setup is crucial if you ever plan to build an application that serves multiple users or needs high throughput. We’ll use Docker for a clean, reproducible setup.
- Install Docker: If you don’t have Docker Desktop (Windows/macOS) or Docker Engine (Linux) installed, do so now.
- Pull vLLM Docker Image:
vLLM provides official Docker images that come pre-configured with CUDA.
“`bash
docker pull vllm/vllm-openai:latest
“`
This image includes an OpenAI-compatible API server, making it easy to integrate. - Acquire a Compatible Model:
vLLM supports AWQ, GPTQ, and FP8 models. You can find these on Hugging Face. For example,TheBloke/Llama-2-7B-Chat-AWQorTheBloke/Mistral-7B-Instruct-v0.2-GPTQ. You don’t need to download the whole model locally if you’re using the Docker image, as vLLM can download it on the fly. - Launch the vLLM API Server:
“`bash
docker run –gpus all -p 8000:8000 \
-e MODEL=”TheBloke/Llama-2-7B-Chat-AWQ” \
-e QUANTIZATION=”awq” \
-e GPU_MEMORY_UTILIZATION=0.9 \
-e MAX_MODEL_LEN=4096 \
vllm/vllm-openai:latest
“`--gpus all: Gives the container access to all your GPUs.-p 8000:8000: Maps the container’s port 8000 to your host’s port 8000.-e MODEL="TheBloke/Llama-2-7B-Chat-AWQ": Specifies the Hugging Face model to load.-e QUANTIZATION="awq": Tells vLLM the quantization method. (Usegptqfor GPTQ models, etc.)-e GPU_MEMORY_UTILIZATION=0.9: (Crucial!) This parameter controls how much of your total GPU VRAM vLLM will allocate for its PagedAttention KV cache and model weights. A value of 0.9 means 90%. Adjust this carefully. If you have 24GB, 0.9 means ~21.6GB will be used. Lower this if you hit OOM errors.-e MAX_MODEL_LEN=4096: Sets the maximum context window size. Like ExLlamaV2, this impacts VRAM.
- Interact with the vLLM API:
Once the Docker container starts and the model loads (this might take a few minutes), you can interact with it viacurlor a Python client.
Using curl (basic chat completion):
“`bash
curl http://localhost:8000/v1/chat/completions \
-H “Content-Type: application/json” \
-d ‘{
“model”: “TheBloke/Llama-2-7B-Chat-AWQ”,
“messages”: [
{“role”: “user”, “content”: “Explain the difference between latency and throughput in LLM inference.”}
],
“temperature”: 0.7,
“max_tokens”: 256
}’
“`
Using Python requests:
“`python
import requests
import json
API_URL = “http://localhost:8000/v1/chat/completions”
headers = {“Content-Type”: “application/json”}
data = {
“model”: “TheBloke/Llama-2-7B-Chat-AWQ”,
“messages”: [
{“role”: “user”, “content”: “Write a short story about a robot discovering art.”}
],
“temperature”: 0.7,
“max_tokens”: 512,
“stream”: True # Enable streaming for interactive feel
}
with requests.post(API_URL, headers=headers, json=data, stream=True) as response:
response.raise_for_status()
for chunk in response.iter_lines(decode_unicode=True):
if chunk.startswith(“data:”):
try:
json_data = json.loads(chunk[len(“data:”):])
if “choices” in json_data and len(json_data[“choices”]) > 0:
content = json_data[“choices”][0][“delta”].get(“content”)
if content:
print(content, end=””, flush=True)
except json.JSONDecodeError:
pass
print(“\n”)
“`
You’ll notice that even for a single request, vLLM might feel slightly less “snappy” on the first token than ExLlamaV2, but it’s designed to maintain that performance even with many concurrent requests.
Step 4: Tuning Context Window Caching
Both ExLlamaV2 and vLLM manage the KV cache, which stores the attention keys and values for the tokens in your prompt and generated response. This is critical for performance, especially with long context windows.
- ExLlamaV2 (via
text-generation-webui):
The--max_seq_lenparameter you used when launchingserver.pydirectly controls the maximum context window. A larger value means more VRAM is reserved for the KV cache. If you’re running out of VRAM, reducing this is often the first step. You can also adjust it dynamically in the “Parameters” tab of the web UI. ExLlamaV2’s efficient kernels inherently manage this well for single streams. - vLLM:
The-e MAX_MODEL_LENparameter in the Docker command sets the maximum context window for any single request. The-e GPU_MEMORY_UTILIZATIONparameter is even more critical here. It dictates the overall VRAM budget for the model weights and the PagedAttention KV cache. If you setMAX_MODEL_LENvery high butGPU_MEMORY_UTILIZATIONtoo low, vLLM might not be able to accommodate many long requests concurrently, or even a single one. For multi-user scenarios, finding the right balance betweenMAX_MODEL_LEN(individual request context) andGPU_MEMORY_UTILIZATION(overall system capacity) is key to maximizing throughput without OOM errors.
By following these steps, you’ll have both ExLlamaV2 and vLLM running, allowing you to directly compare their performance characteristics for their intended use cases. Remember, ExLlamaV2 for your personal, interactive AI, and vLLM for when you need to power an application for many users. Choose wisely, and you’ll unlock the full potential of your consumer GPU.
Frequently Asked Questions
What’s the best LLM inference engine for a single RTX 4090?
For a single RTX 4090 used for personal, interactive LLM inference (like a desktop chatbot or creative writing assistant), ExLlamaV2 is unequivocally the best choice. Its EXL2 quantization and custom CUDA kernels maximize VRAM efficiency and single-stream token generation speed, allowing you to run larger models faster.
Can I run a 70B LLM on consumer GPUs with ExLlamaV2?
Yes, ExLlamaV2 is specifically optimized for this. With dual 24GB GPUs (like two RTX 3090s or 4090s), you can comfortably run 70B parameter models quantized with EXL2, thanks to its minimal runtime memory footprint and efficient model sharding capabilities.
Why does vLLM use more VRAM than ExLlamaV2 for the same model?
vLLM’s architecture, particularly its PagedAttention mechanism and continuous batching, pre-allocates significant VRAM buffers to ensure high throughput and efficient KV-cache management for multiple concurrent requests. While this is excellent for API servers, it results in a higher baseline VRAM usage compared to ExLlamaV2, which is optimized for minimal VRAM and single-stream latency.
When should I choose vLLM over ExLlamaV2 for local inference?
You should choose vLLM if your primary goal is to serve an LLM API to multiple concurrent users, where maximizing requests per second (throughput) is more important than the absolute lowest latency for a single user. If you’re building a backend for a web application or a service that will handle many simultaneous queries, vLLM’s PagedAttention and continuous batching will provide superior performance.